Painting Process Images and Narrative
Painting 1: Trying Not to Drown
|
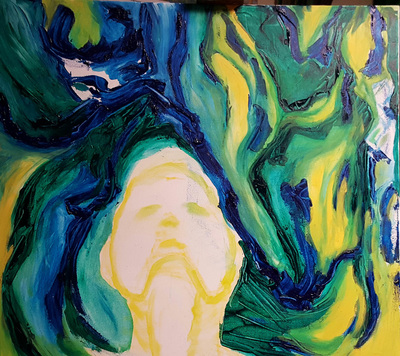
The images below chronicle the process of creating painting 1
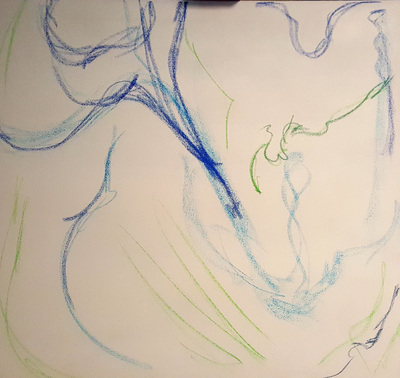
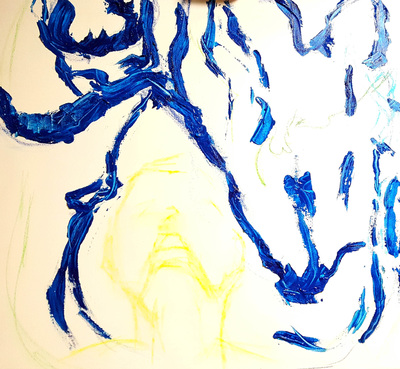
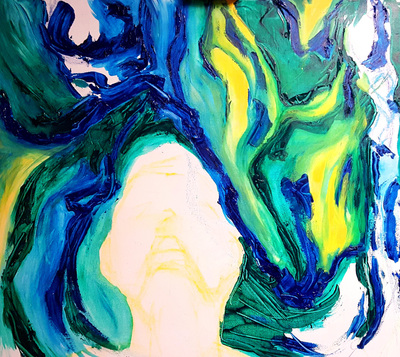
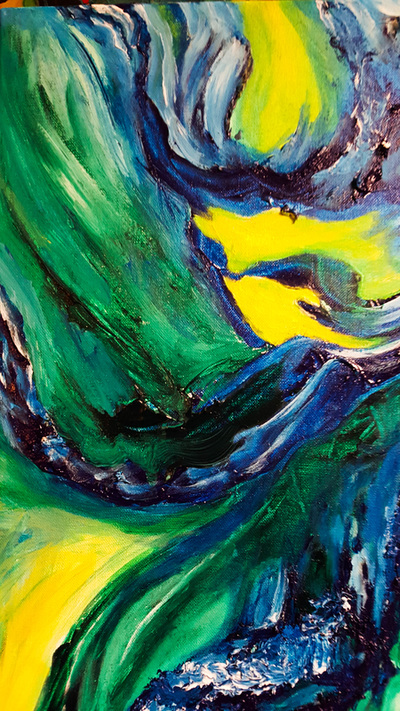
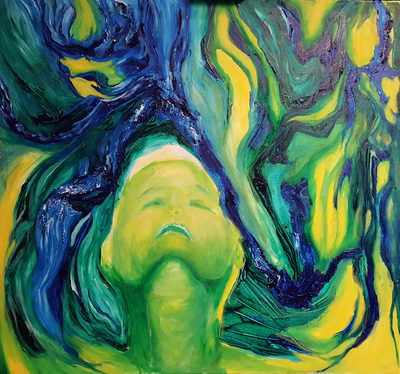
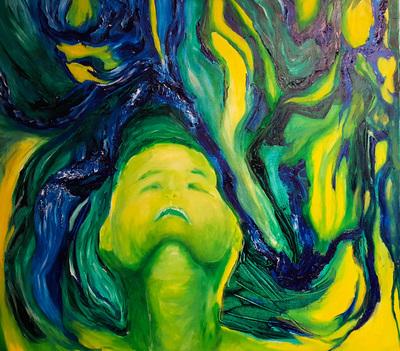
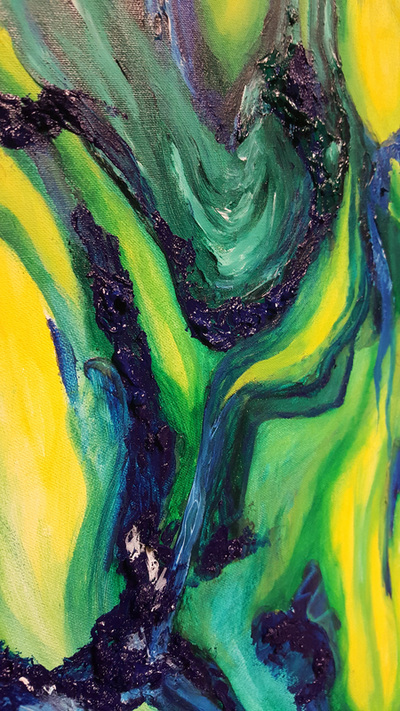
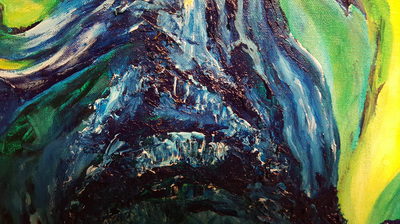
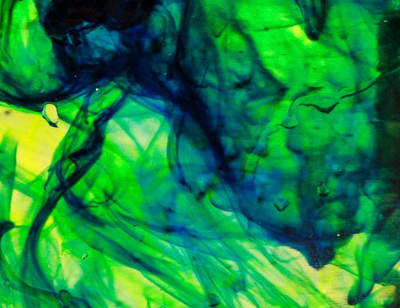
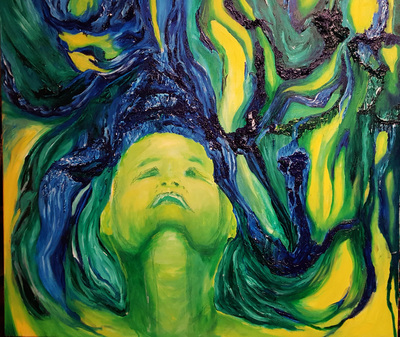
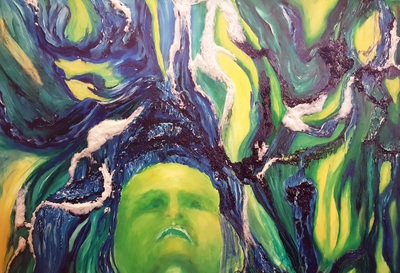
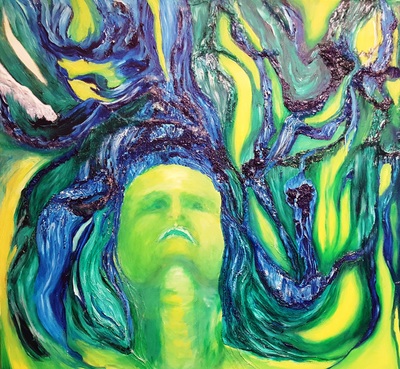
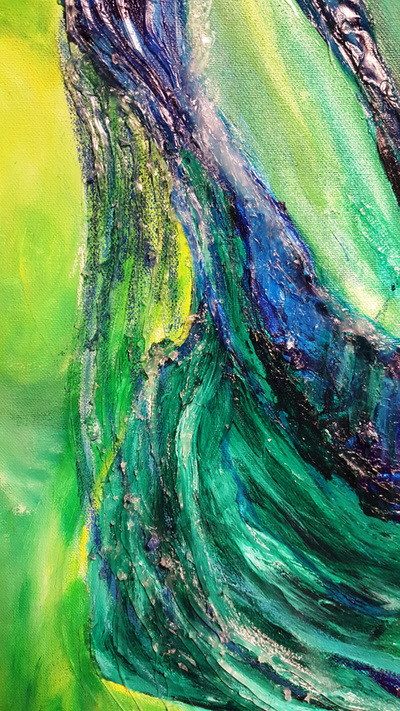
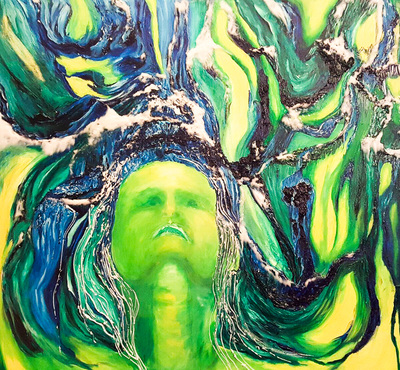
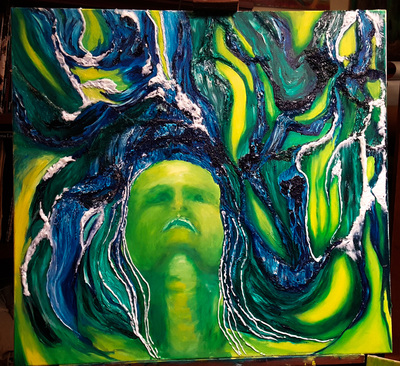
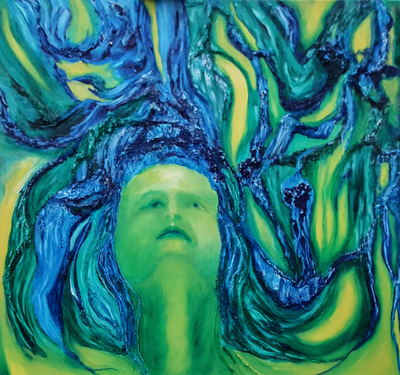
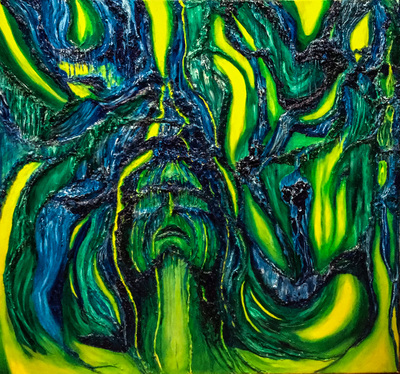
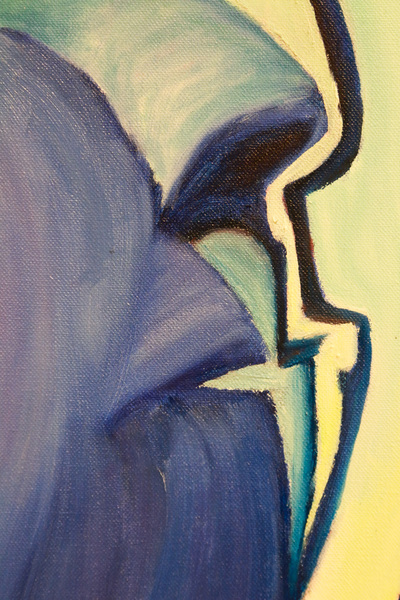
My concept here is a person emerging from water through a waterfall. I have combined aspects of photos I took at a waterfall, the abstract food coloring photographs and the oil pastel drawing done while sitting on a beach. These begining images show how this piece develops. I am no where near done and am not happy with some areas. Specifically where the forehead meets the blue. I'm not sure if I want to paint over the blue to place the head in front of the blue or continue the blue over parts of the forehead. Some areas are raised with a lot of texture while some are smoothly blended. I like the contrast between the two but it isn't cohesive yet. |
|
The Devil’s in the Details
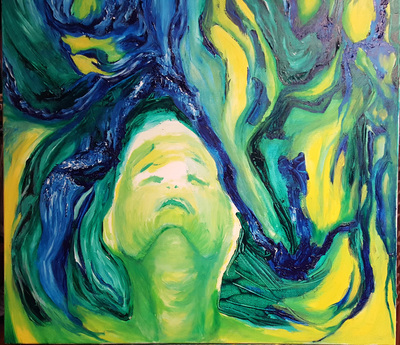
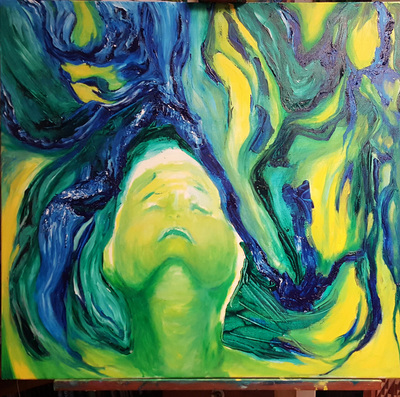
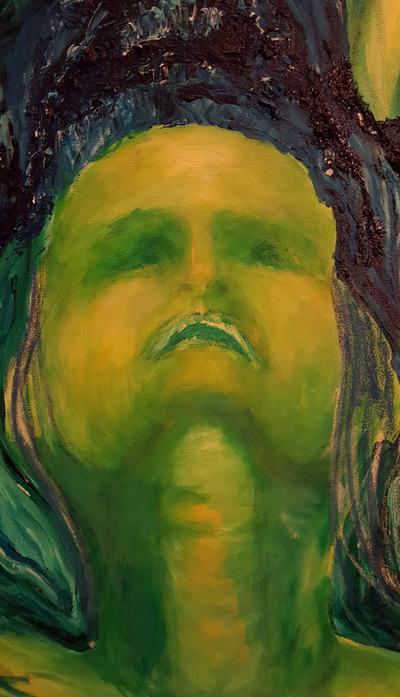
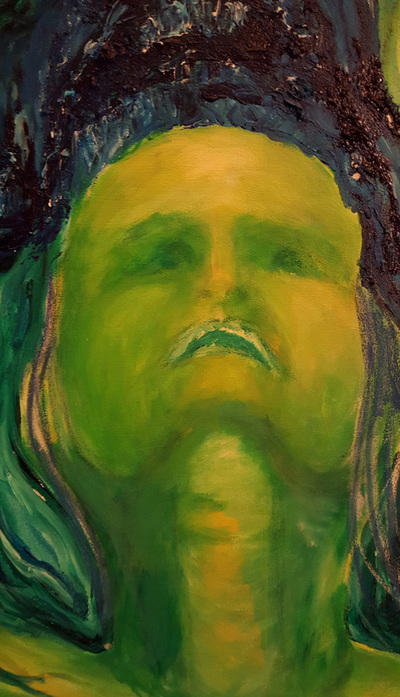
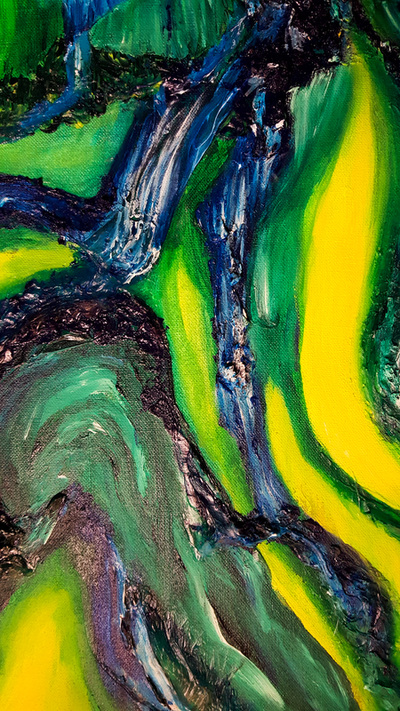
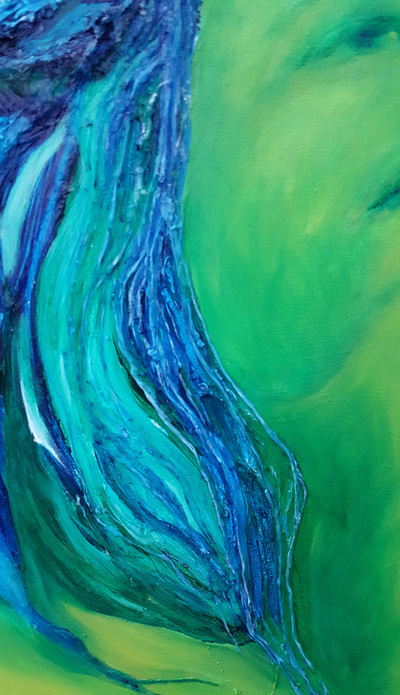
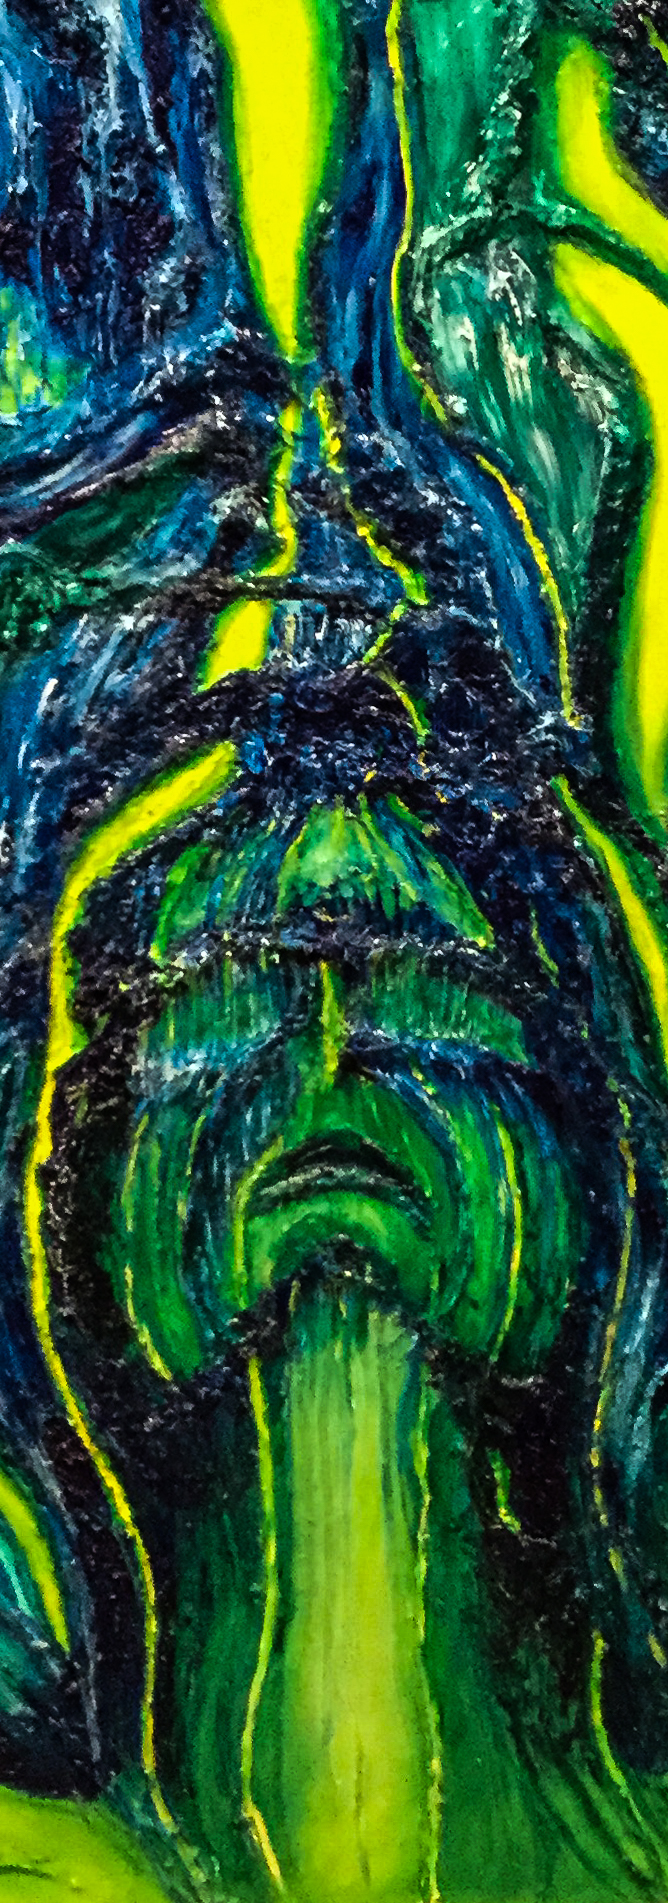
Working on this painting has been both energizing and frustrating. My intention of communicating the concept of emergence through representation abstraction does not seem to be working. The painting itself seems to be stuck somewhere between trying to show an actual face with an abstracted design to represent both water falling and energy rising. I feel like what I have been painting is disjointed and appears that the artist is conflicted between abstraction and realistic representation. I want the viewer to be able to recognize that there is a figure emerging from a space below but not be so obvious about it. I like the idea of having to look closer to discover what is actually there. However, I feel like I have to fully develop the face proportionally and as a solid form before I can paint over parts of it to obscure it. Through creating this painting I have rediscovered why I don’t like acrylic paint when I’m trying to develop dimension. It dries too quickly, even with adding gel medium. Maybe I’m using the wrong stuff. It’s not so much of a problem with the background areas as it is with the development of the face. It seems that before I can get the values blended well they are dry. So I spend more time trying to match my colors again or end up repainting the entire area. I like to incorporate areas of low relief in my paintings. I want the water areas to project from the canvas but I’m not sure I’m doing a good job at it with this particular painting. I’m wondering if I should add some caulk to those areas and then paint over them again, especially in the areas that are meant to flow over the face. I think I would be able to achieve a more consistent flow and representation of water than what I’ve done so far. |
|
Building Relief and Texture
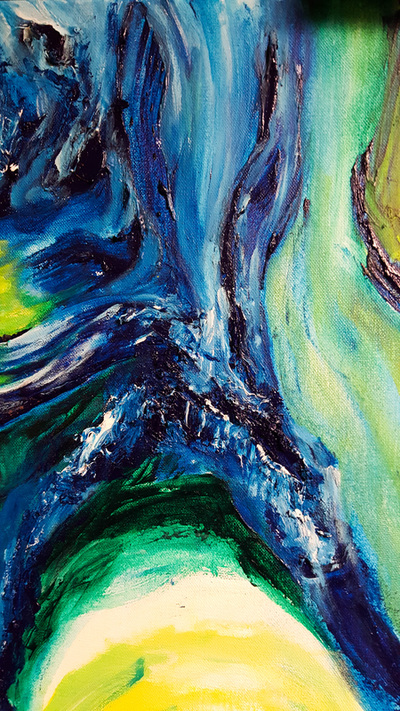
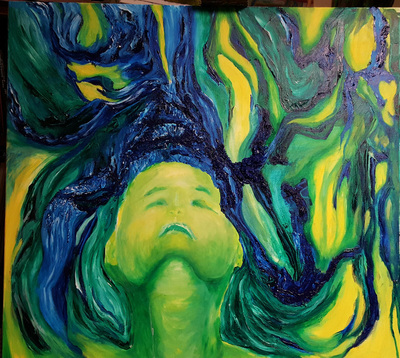
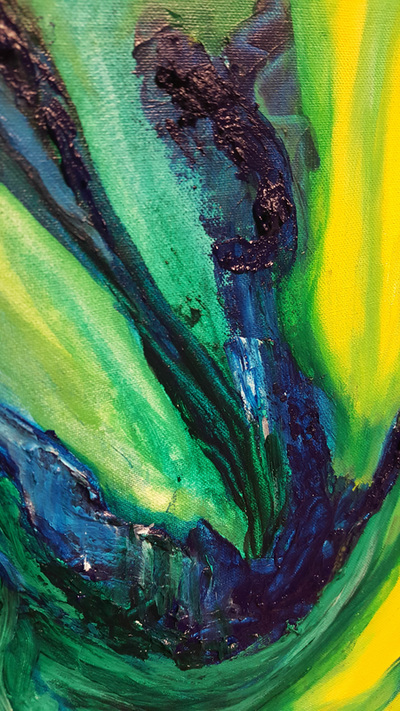
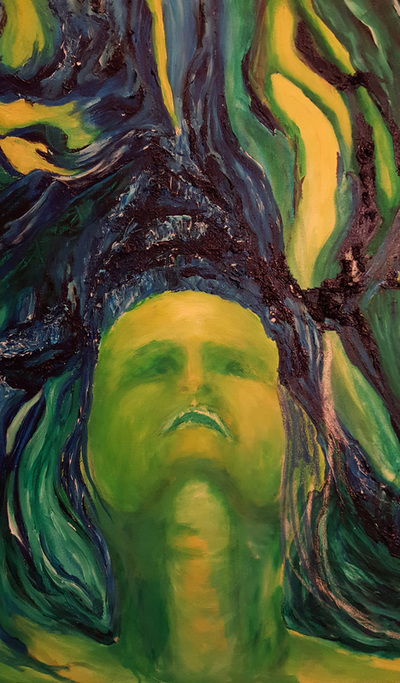
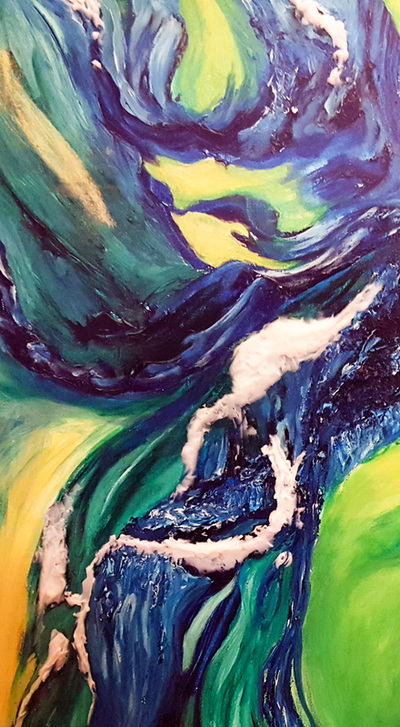
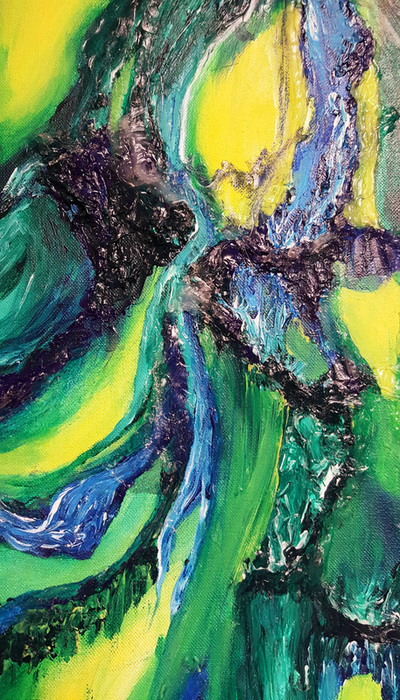
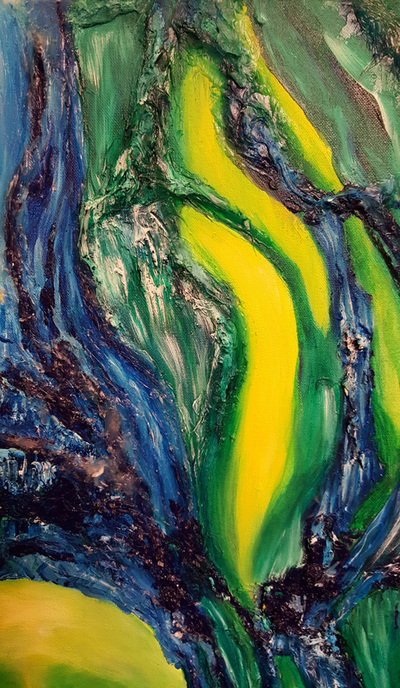
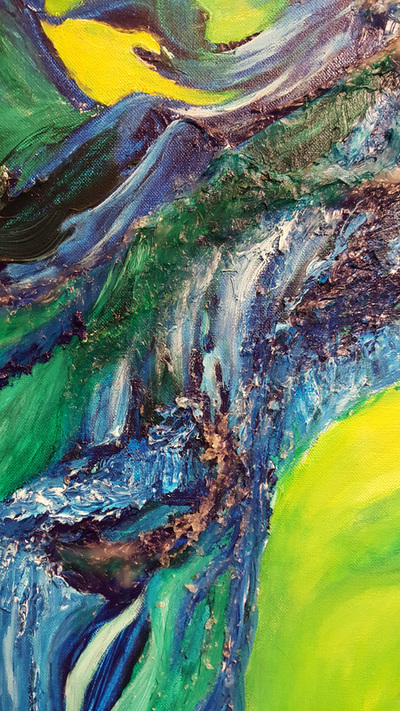
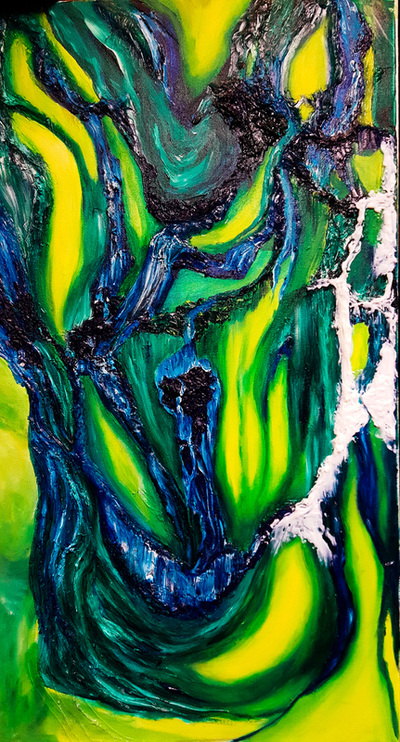
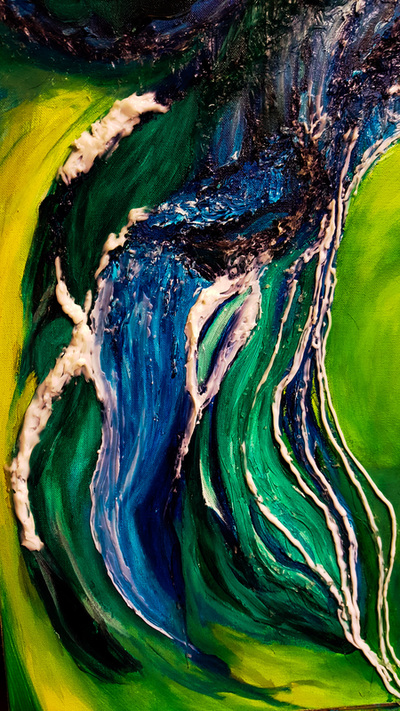
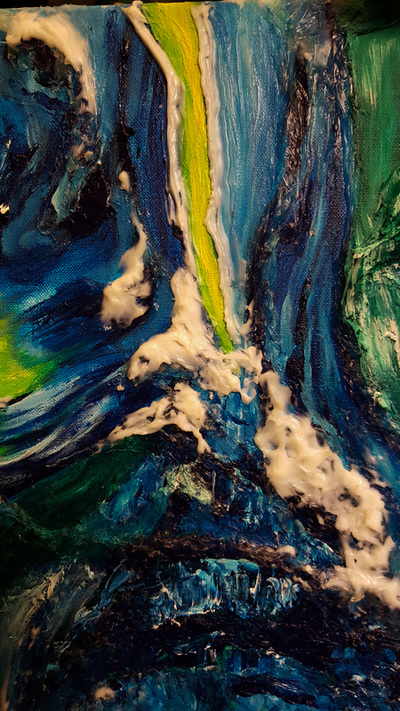
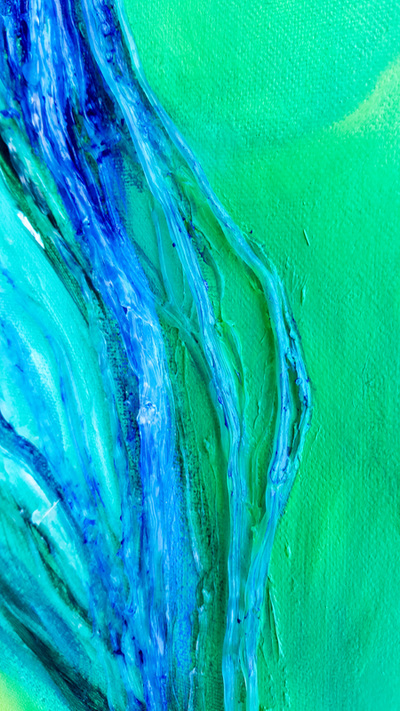
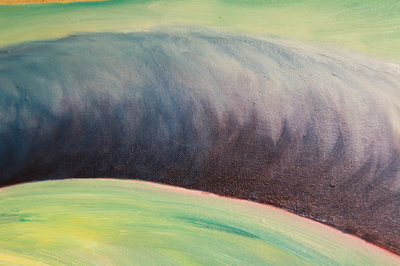
In an effort to bring up the height of the “rocks” I’ve experimented here with adding caulk to the canvas. This caulk goes on white but dryings clear. However, it takes a long time for the caulk to actually dry, It also shrinks when drying. I discovered that when applying paint over the dried caulk the paint appears lighter. In some aspects that is good as some of those areas needed a bit more value variation. |
|
More Caulk Needed
After the first few layers of caulk had dried those raised areas still did not seem to be high enough to create a ledge for water to fall over or to separate different areas of movement. Last night I added more caulk to those areas. The images below show the wet caulk in the new areas. This time around I applied a thin layer to some of the flatter areas to create a more slick appearance. The fact that the caulk dries clear as to show the color under it is beginning to help produce the effect of liquid moving. |
Reaching Process Images
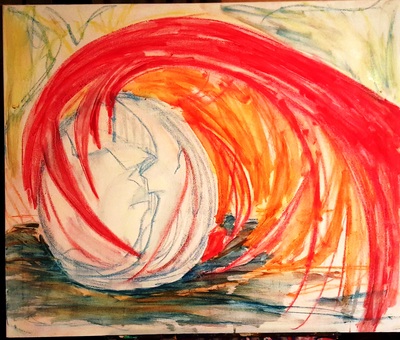
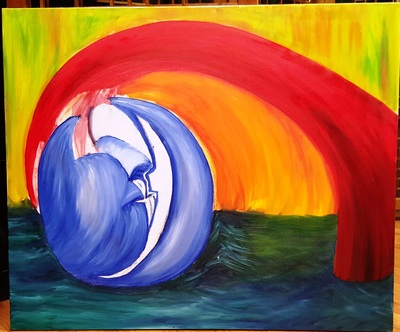
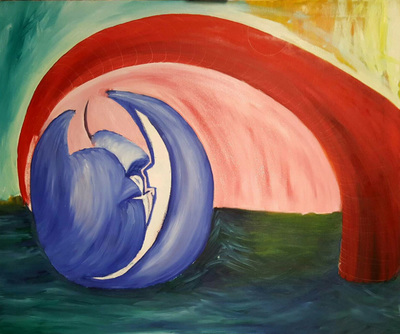
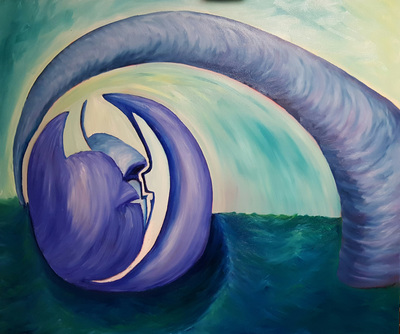
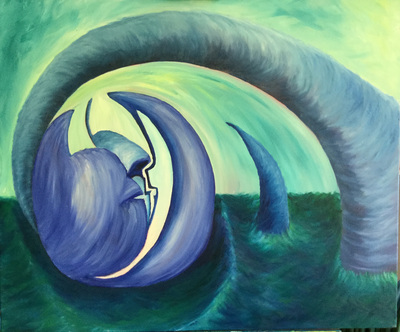
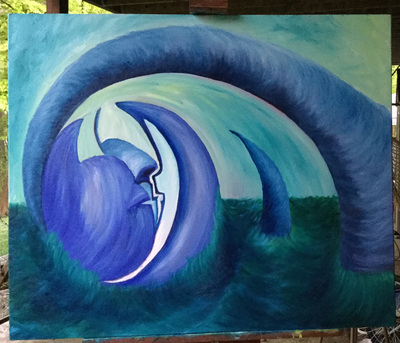
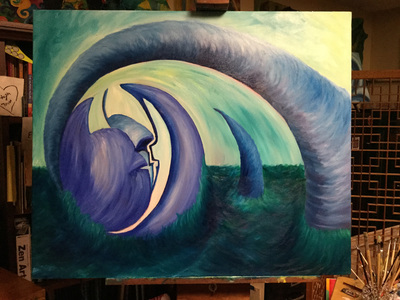
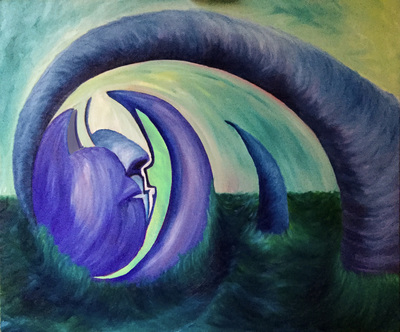
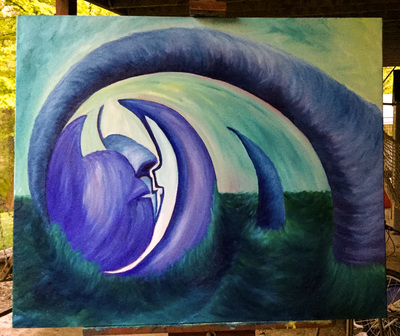
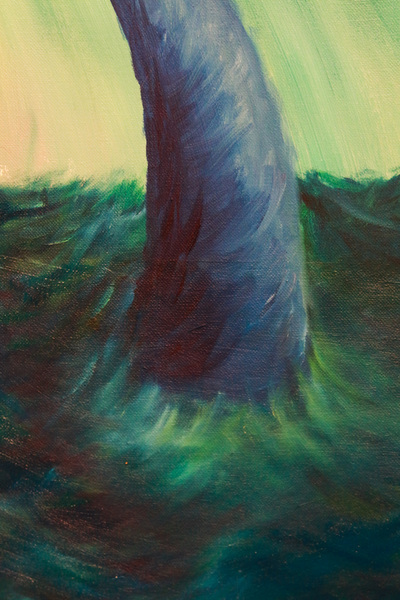
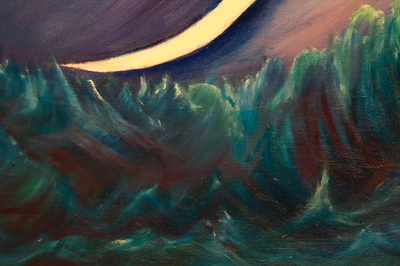
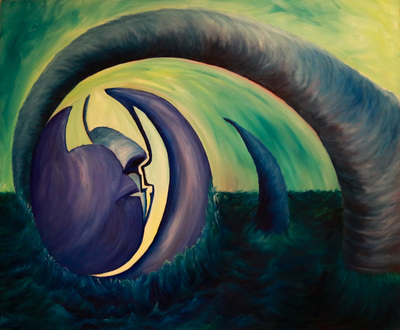
There are times in life where the only way to deal with frustration, anger or sadness is to paint it out. When I don't have the time or space to really get into a painting I take attack the canvas with chalk. This is how this painting began. Frustrated with not getting my first painting to look like I was envisioning combined with some intense personal issues I had to set it aside before I ruined it. So I pulled out a new canvas (approx 30x36), chose my angry colors and began forcefully marking the canvas with chalk. The original feeling of my inner core alone and isolated floating adrift in a dark sea, surrounded by a sky colored by fire, being attacked and split apart by the alien claw that emerged from the sea drove me to create this painting.
|
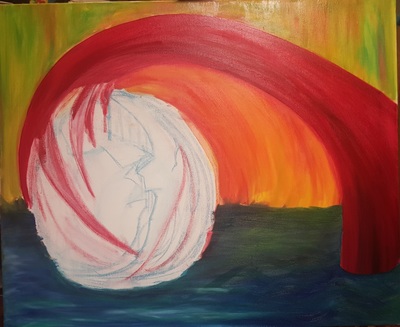
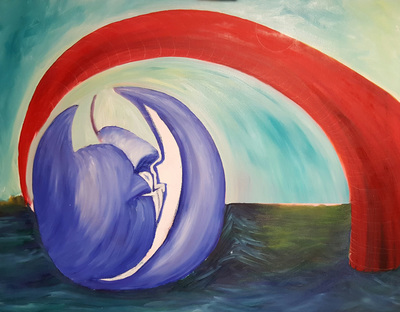
This painting sat for some time while I worked on the first painting and started 2 more. I started this piece because I was angry (Hence the red/orange colors and rough brush strokes) As time went on and I regained some control over events in my life I calmed down. I couldn't look at this painting without feeling the frustration from the time of its origin. While I still liked the original design the colors needed to change to reflect a more calm state of mind.
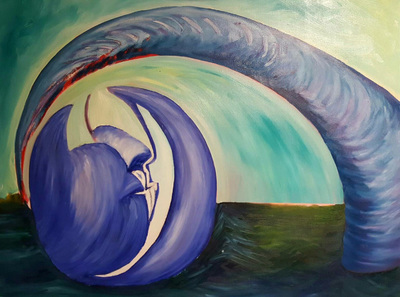
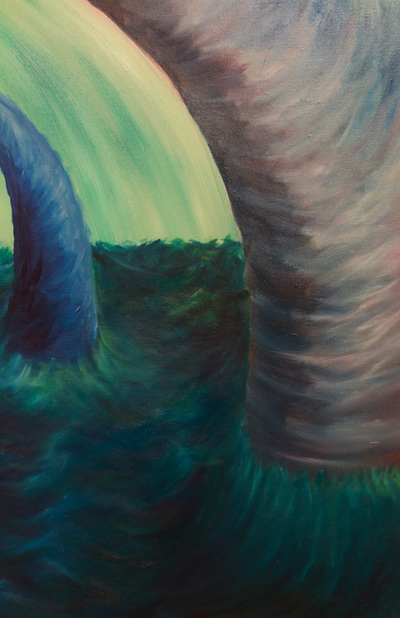
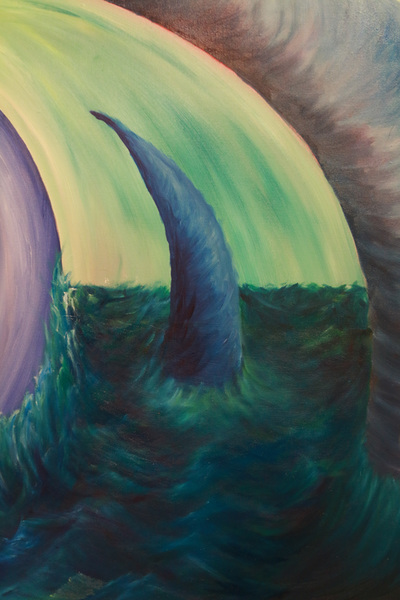
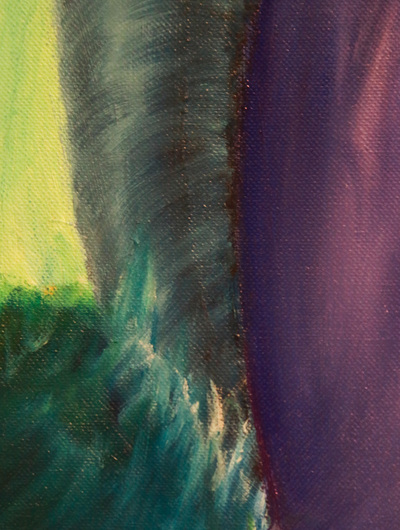
At this point blues and greens have taken over and I'm thinking I need to connect the tubular form rising from the sea to the spherical shape as if the two are merging. It's a work in progress so we'll just have to see where it tells me to go. There comes a point when you just have to stop working on a painting and call it done..... for now. That's the point this one is at now. ...Done for now.... I feel like the style in which the paint appears to be applied is in conflict. The smooth application of paint to the tubes and the broken orb conflicts to the turbulent water at the bottom 1/3rd of the canvas. While this is intentional sometimes when I look at it I feel like that contrast creates a feeling of uncertainty of style used by the artist. However, what I had hoped to convey is a sense of emerging calm movement rising up from turbulent times. The broken orb has been cracked. The suggestion of 2 faces contained within it symbolise the two souls held within the orb. While the solidity and security of the relationship are threatened the broken points are still reaching to each other. The large curved cone of calm strength reaches up from the turbulent waters in an attempt to shelter and push back the fractured parts. |
Keep Moving Process Images
|
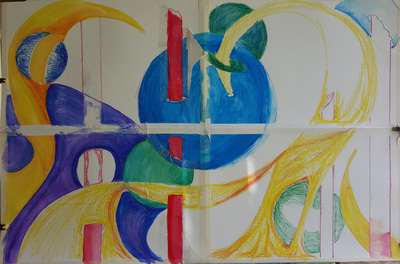
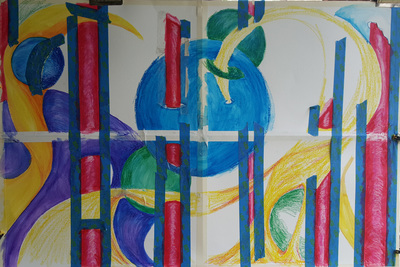
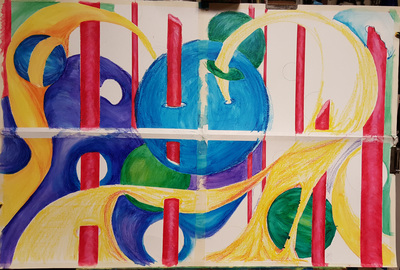
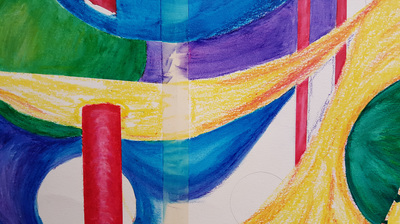
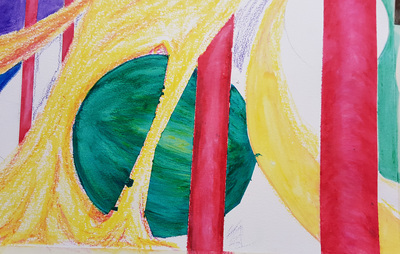
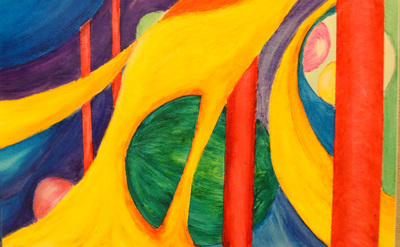
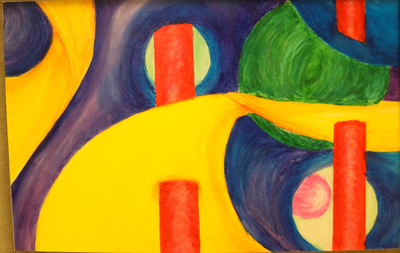
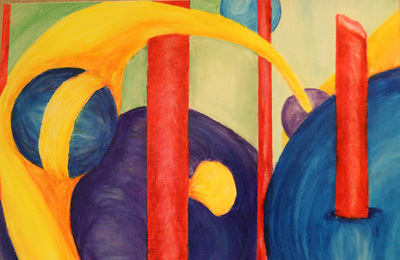
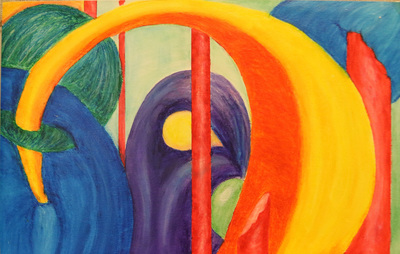
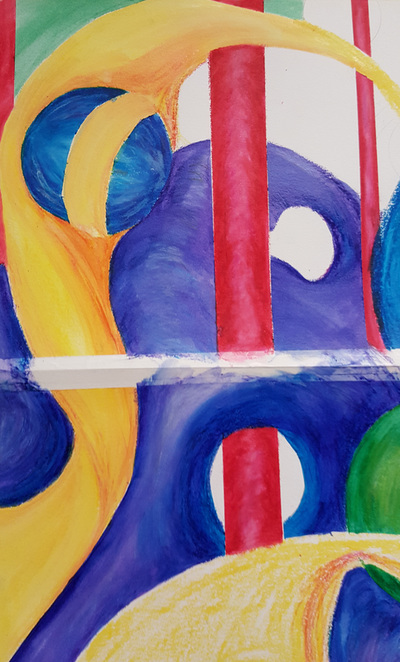
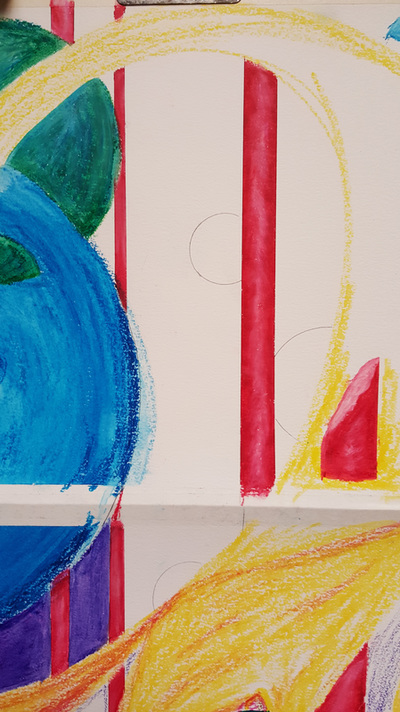
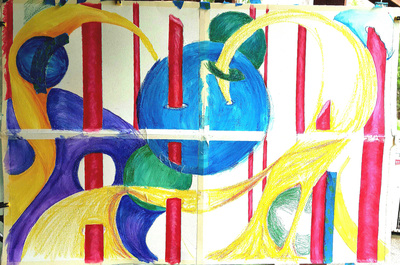
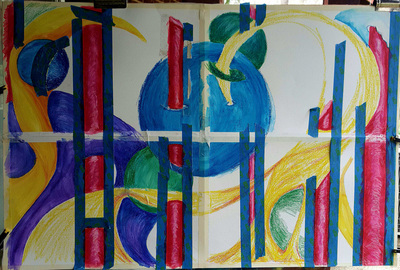
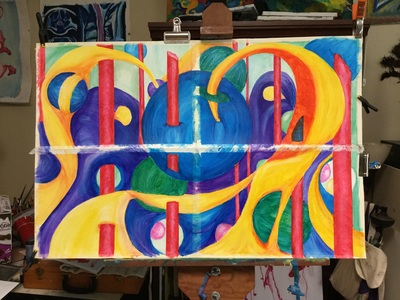
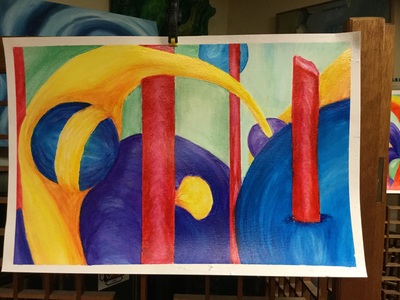
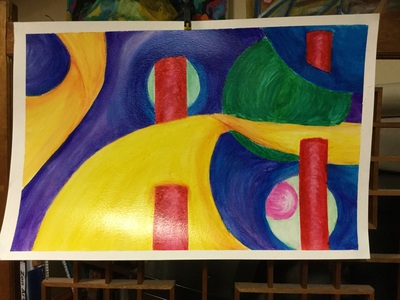
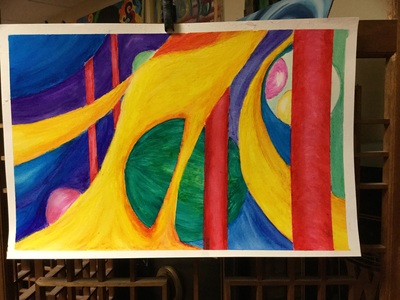
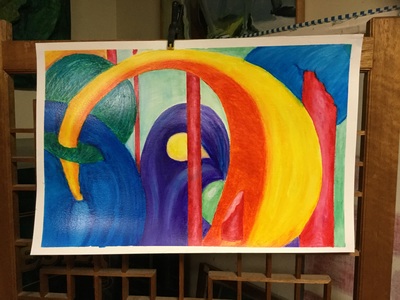
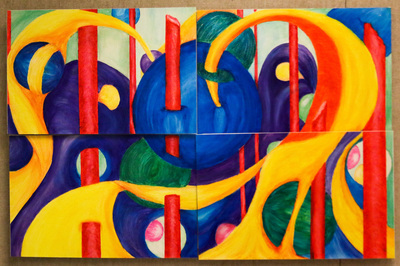
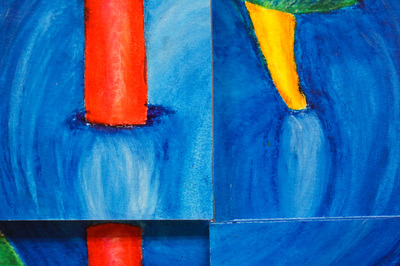
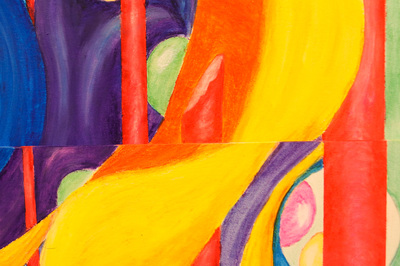
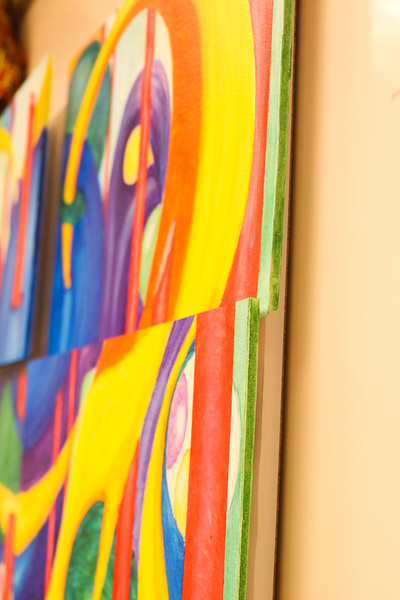
After working on 2 emotionally charged paintings I needed a break to just focus on color and composition. I also wanted to break up the picture plane a bit. This painting is constructed of 4 11x17 pieces of watercolor paper that have been taped together to make it easier to work the overall composition. I've used water soluble oil pastels. There's no deep meaning in this piece. The process of creating this, loosing myself in the elements of basic composition served to bring me back to center.
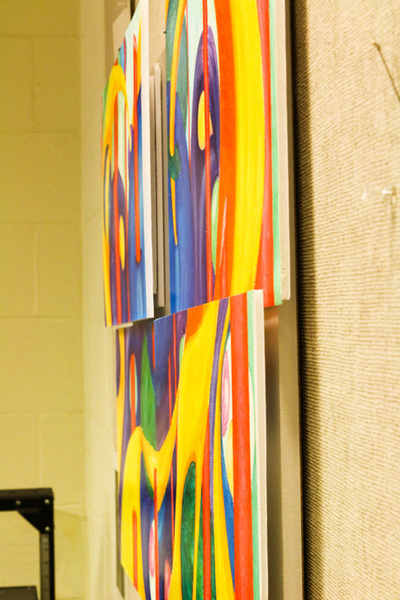
Once I finished the full composition I separated and trimmed the four individual panels and mounted each to foam core then arranged them at different heights and mounted them to a larger board. I still need to paint the foam core edges. |
Suspended Movement Process Images and Narrative
|
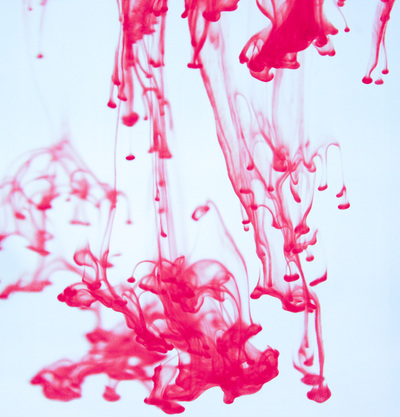
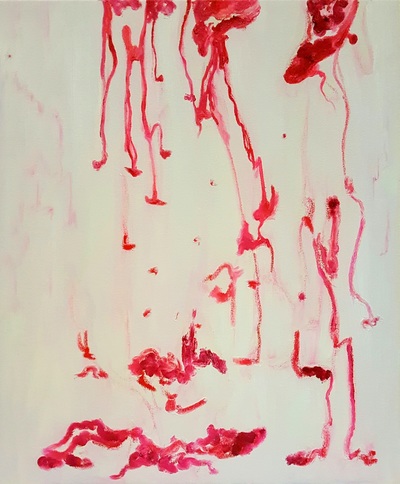
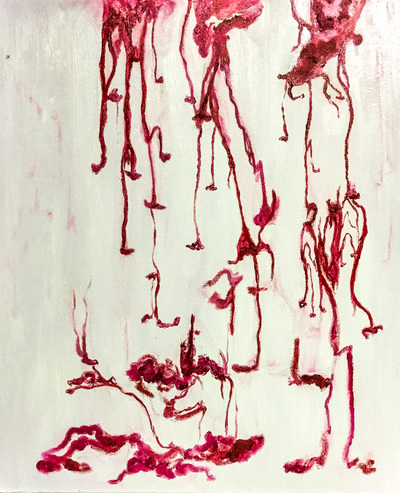
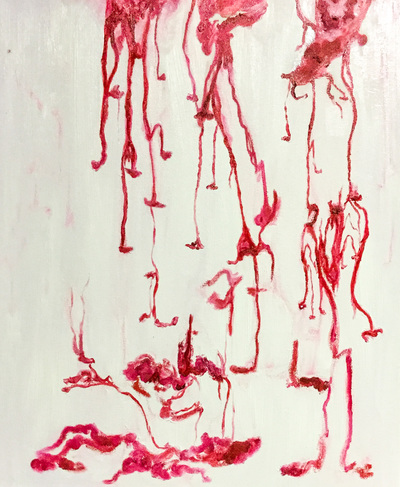
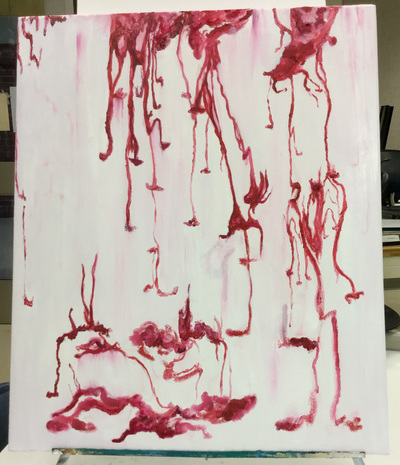
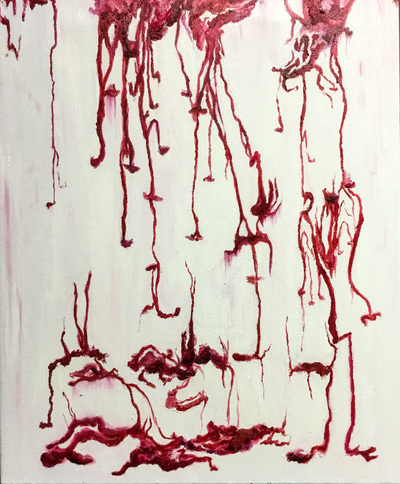
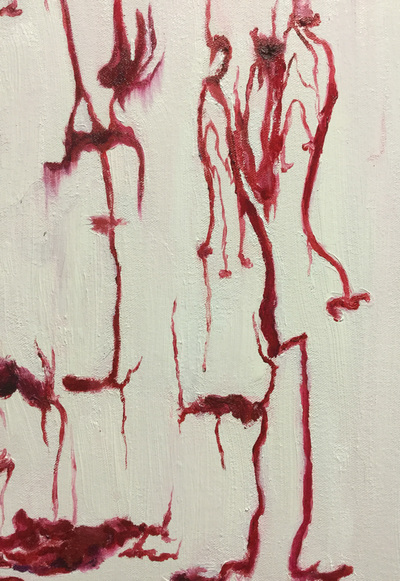
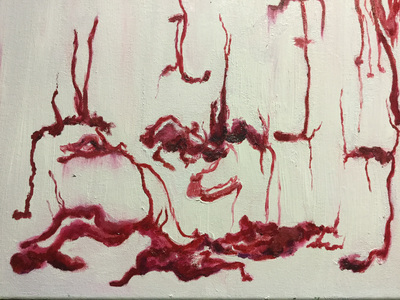
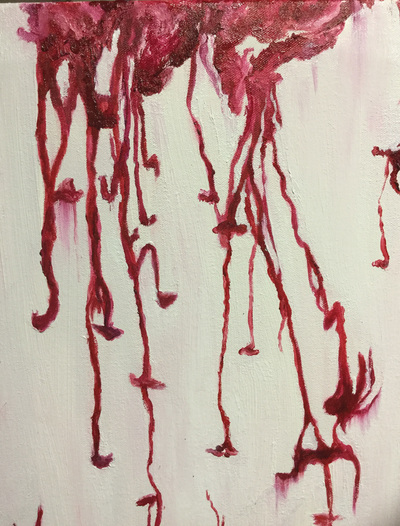
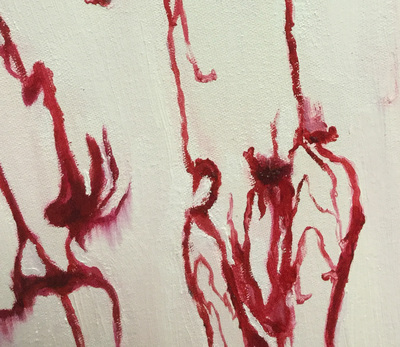
This oil painting is loosely based on a photograph I took. (First image below) The color and designs seen in the photograph were created by dropping food coloring through a layer of shaving cream into a glass of water. The shaving cream slows down the dispersion of the food coloring into the water. I then used pink chalk to draw the composition onto canvas. When I began to apply while oil paint to the canvas going over some of the pink lines the chalk mixed with the paint to create soft ghosted areas and tint the white paint to a subtle light pink. I was able to keep some pure white on the canvas creating some variation in the background. Alizarin Crimson and Dioxide Purple plus white where the only colors used.
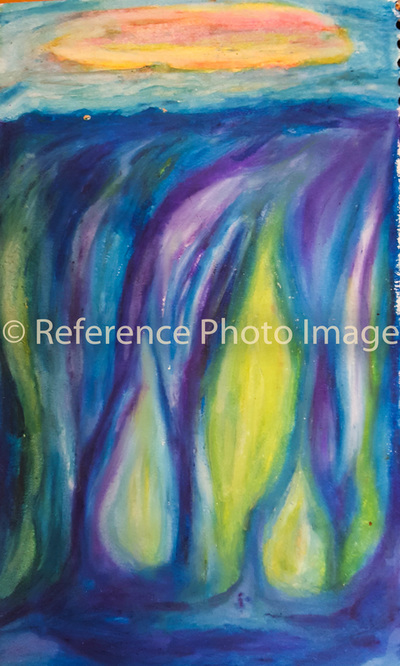
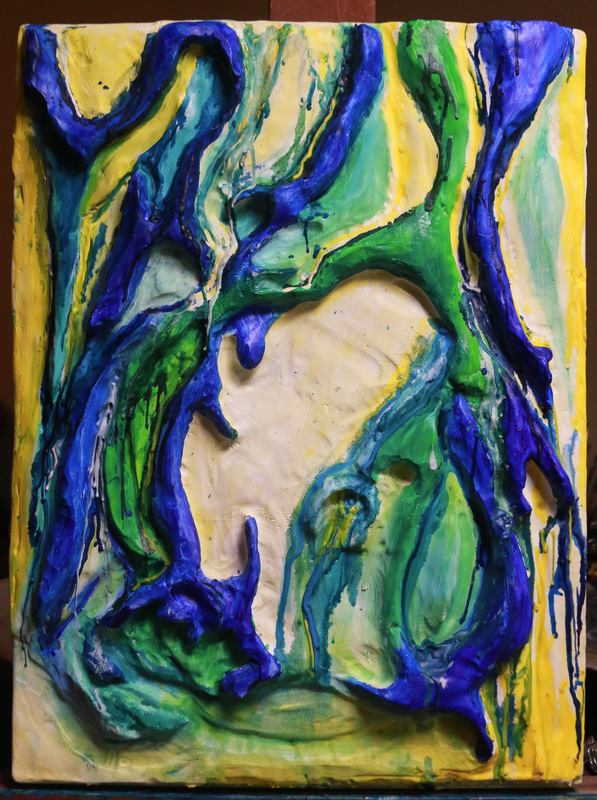
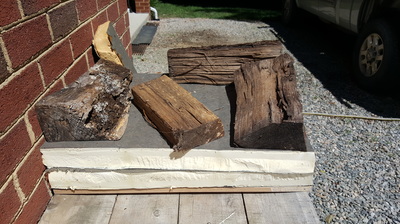
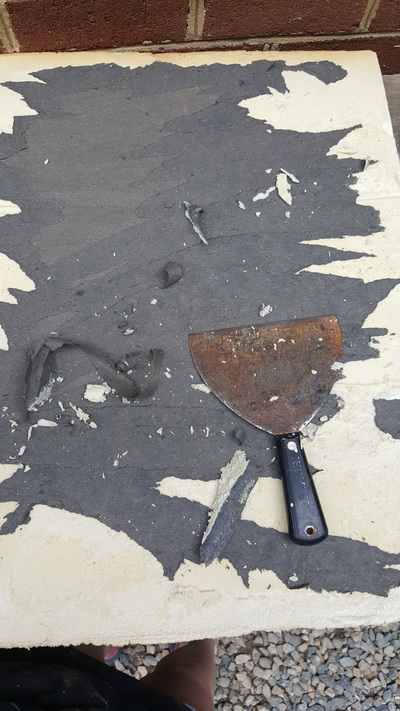
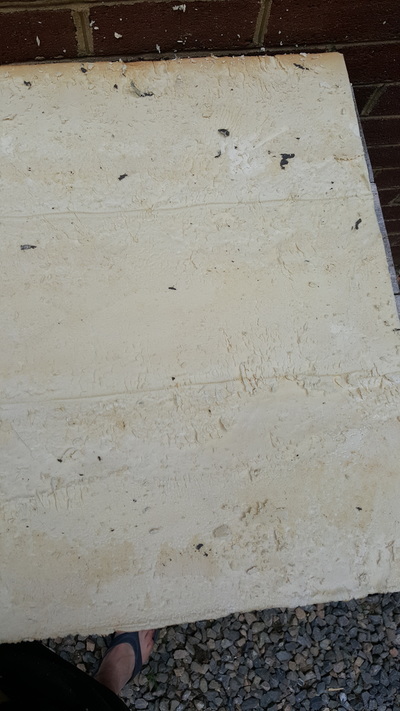
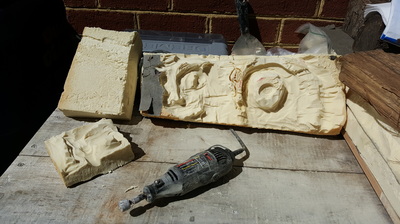
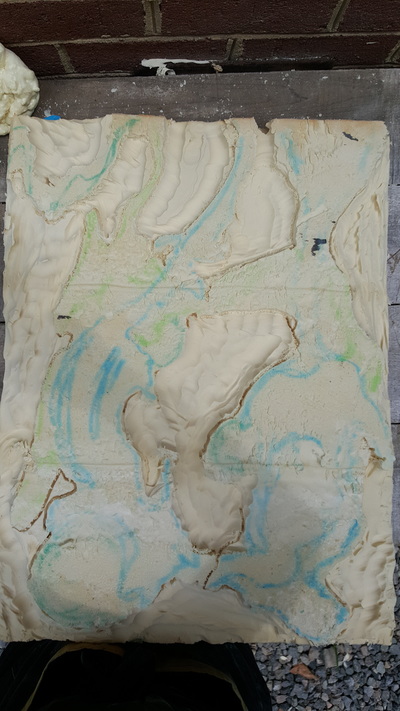
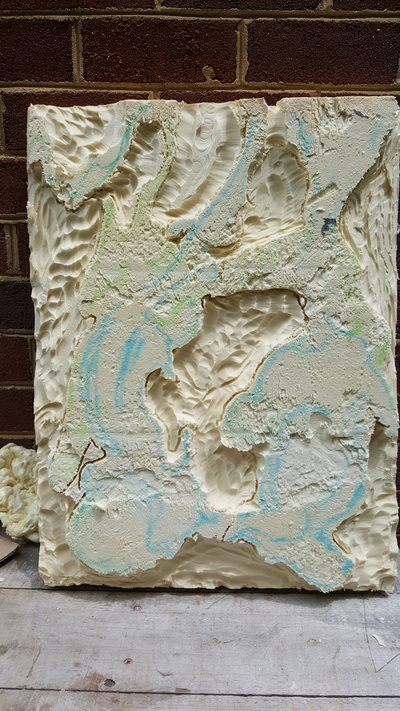
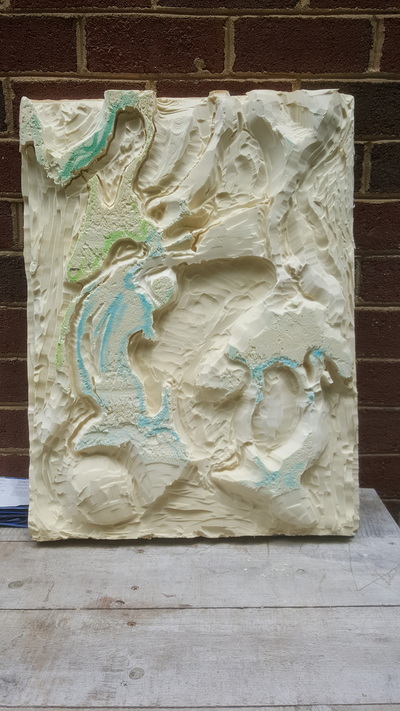
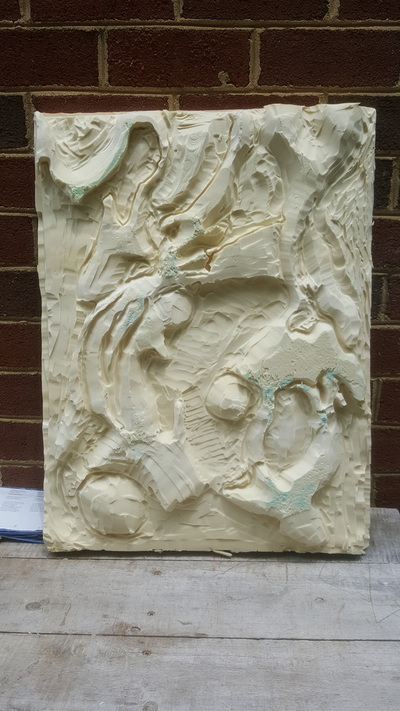
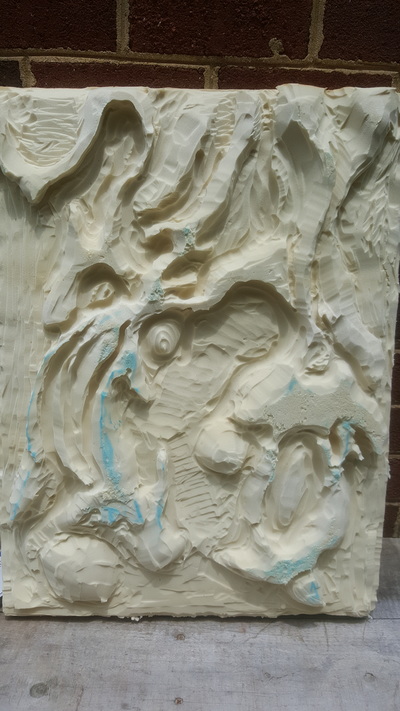
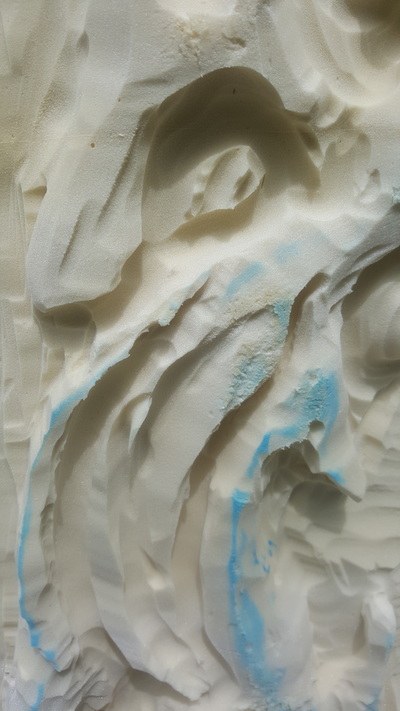
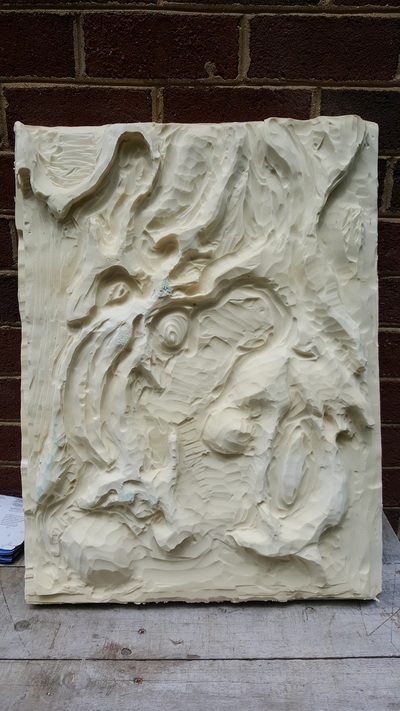
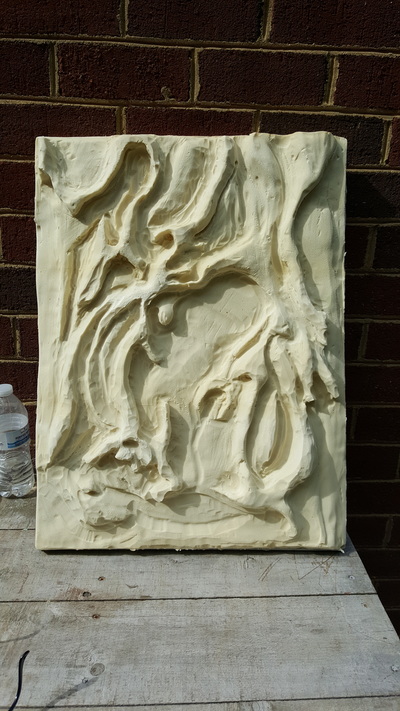
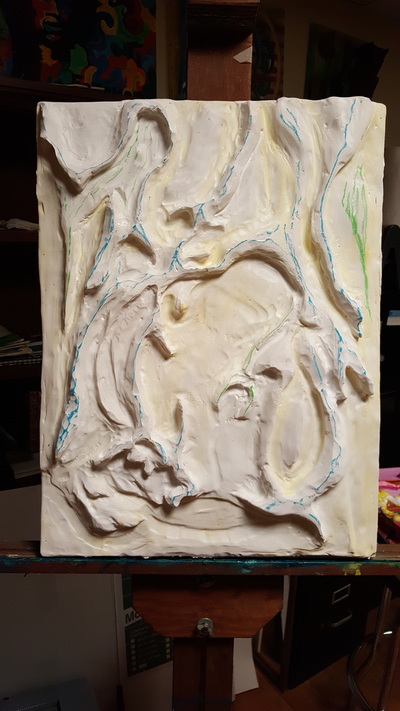
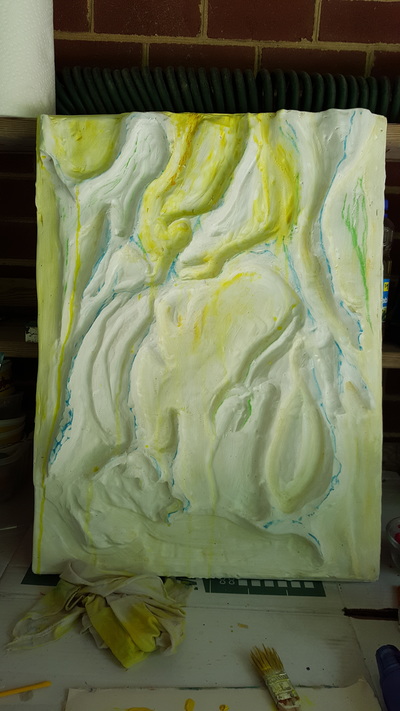
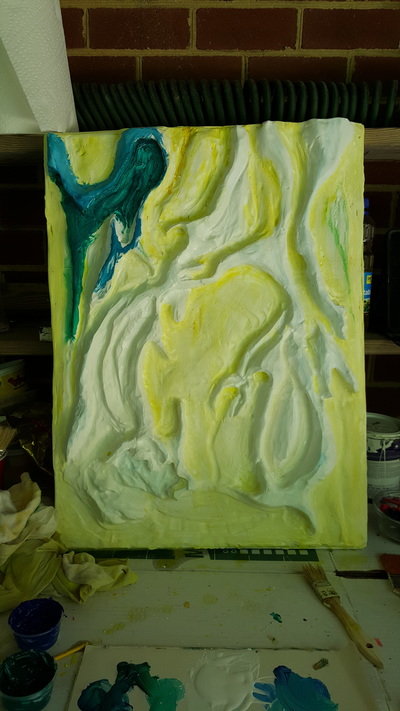
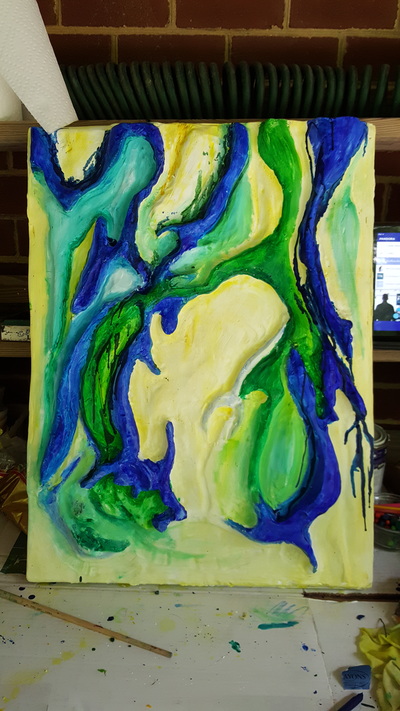
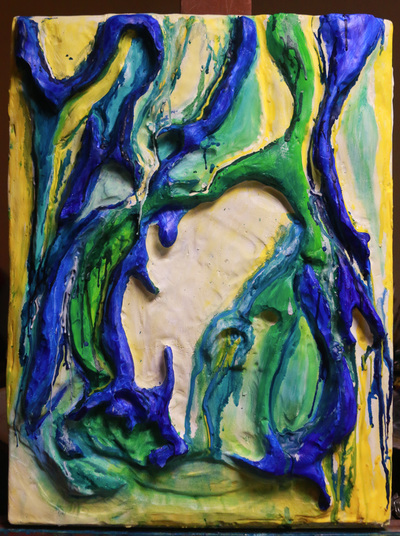
Mixed Media Wall Relief Sculpture ProcessBuilding on the concepts explored while creating Suspended Movement I am now bringing in the third dimension. I took a new series of reference photographs of food coloring dispersing into water, explored different design options by combining images in Photoshop and then proceeded to map out a composition to be carved out of 4 inch foam insulation board. Here I show some of the process images.
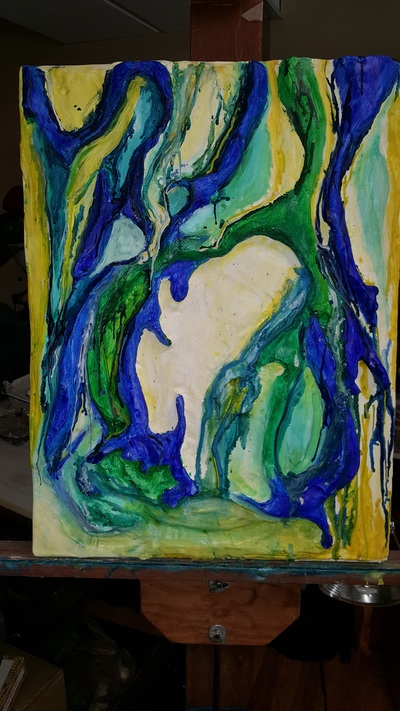
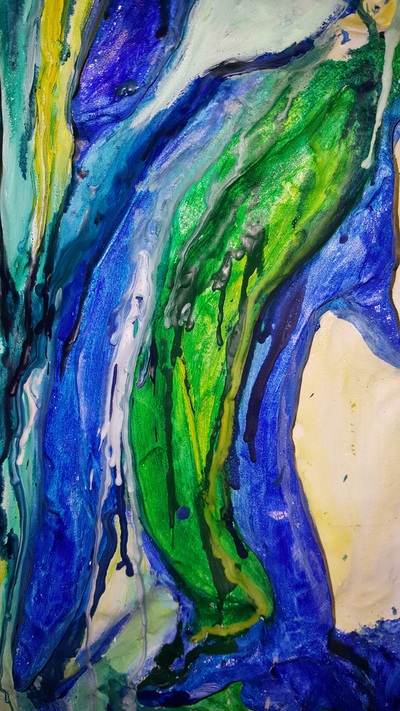
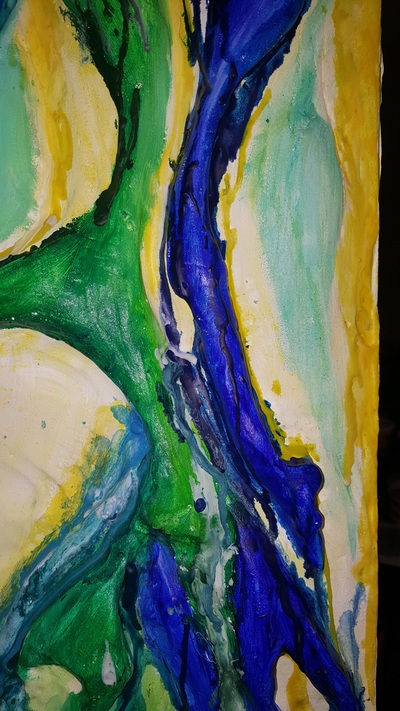
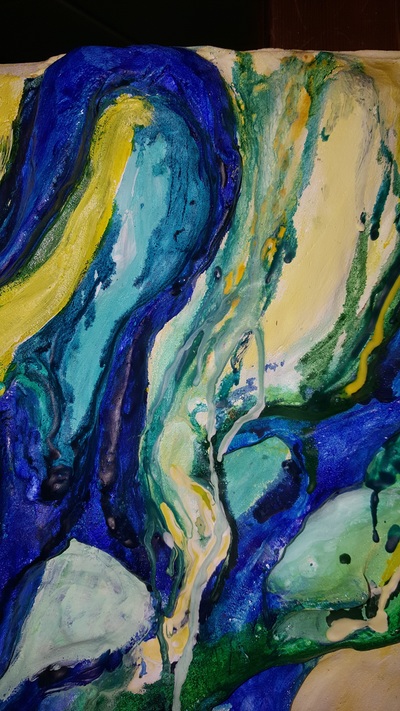
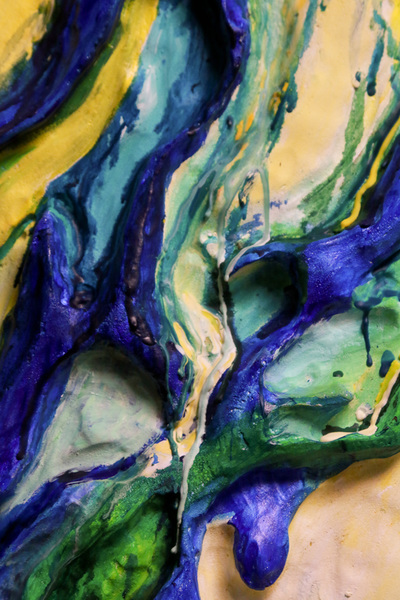
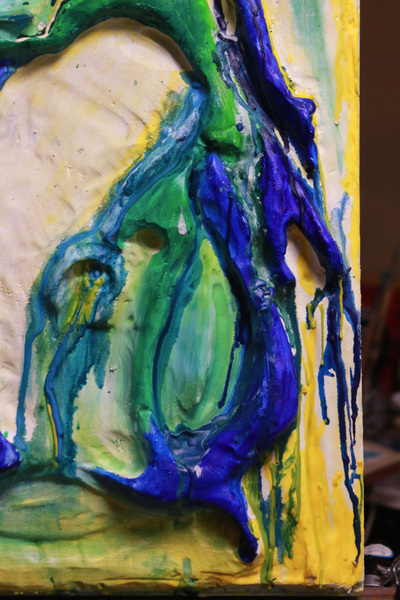
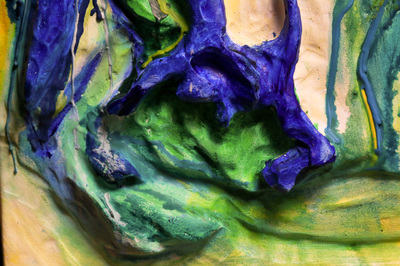
Once the surface relief had been carved I covered the surface with white gesso and began adding acrylic paint and melted colored wax. The wax is derived from melted crayons. (Finally a use for all those broken crayons that have been stored in a bag for so long) I used a heat gun to melt some of the larger crayons directly onto the sculpted surface. Other areas have wax that was first melted in a melting cup then dripped onto the surface. Both methods have a level of chance to them as to how the wax will actually flow and in what direction that flow may decide to take. |
Mixed Media Wall Relief Sculpture Process Images |
To read a week by week description of how this artwork progressed click on the link below.
